 | ||
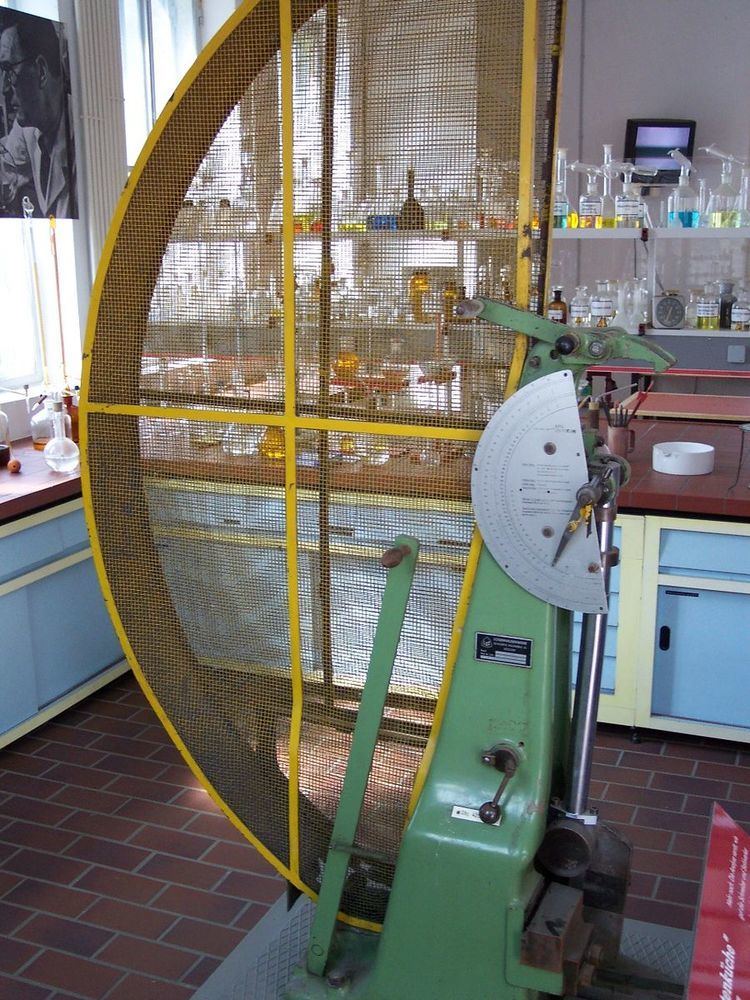
The Charpy impact test, also known as the Charpy V-notch test, is a standardized high strain-rate test which determines the amount of energy absorbed by a material during fracture. This absorbed energy is a measure of a given material's notch toughness and acts as a tool to study temperature-dependent ductile-brittle transition. It is widely applied in industry, since it is easy to prepare and conduct and results can be obtained quickly and cheaply. A disadvantage is that some results are only comparative.
Contents
The test was developed around 1900 by S.B. Russell (1898, American) and Georges Charpy (1901, French). The test became known as the Charpy test in the early 1900s due to the technical contributions and standardization efforts by Charpy. The test was pivotal in understanding the fracture problems of ships during World War II.
Today it is utilized in many industries for testing materials, for example the construction of pressure vessels and bridges to determine how storms will affect the materials used.
History
In 1896
S. B. Russell introduced the idea of residual fracture energy and devised a pendulum fracture test. Russell's initial tests measured un-notched samples. In 1897 Frémont introduced a test trying to measure the same phenomenon using a spring-loaded machine. In 1901 Georges Charpy proposed a standardized method improving Russell's by introducing a redesigned pendulum, notched sample and generally giving precise specifications.Definition
The apparatus consists of a pendulum of known mass and length that is dropped from a known height to impact a notched specimen of material. The energy transferred to the material can be inferred by comparing the difference in the height of the hammer before and after the fracture (energy absorbed by the fracture event).
The notch in the sample affects the results of the impact test, thus it is necessary for the notch to be of regular dimensions and geometry. The size of the sample can also affect results, since the dimensions determine whether or not the material is in plane strain. This difference can greatly affect conclusions made.
The "Standard methods for Notched Bar Impact Testing of Metallic Materials" can be found in ASTM E23, ISO 148-1 or EN 10045-1, where all the aspects of the test and equipment used are described in detail.
Quantitative results
The quantitative result of the impact tests the energy needed to fracture a material and can be used to measure the toughness of the material. There is a connection to the yield strength but it cannot be expressed by a standard formula. Also, the strain rate may be studied and analyzed for its effect on fracture.
The ductile-brittle transition temperature (DBTT) may be derived from the temperature where the energy needed to fracture the material drastically changes. However, in practice there is no sharp transition and it is difficult to obtain a precise transition temperature (it is really a transition region). An exact DBTT may be empirically derived in many ways: a specific absorbed energy, change in aspect of fracture (such as 50% of the area is cleavage), etc.
Qualitative results
The qualitative results of the impact test can be used to determine the ductility of a material. If the material breaks on a flat plane, the fracture was brittle, and if the material breaks with jagged edges or shear lips, then the fracture was ductile. Usually a material does not break in just one way or the other, and thus comparing the jagged to flat surface areas of the fracture will give an estimate of the percentage of ductile and brittle fracture.
Sample sizes
According to ASTM A370, the standard specimen size for Charpy impact testing is 10 mm × 10mm × 55mm. Subsize specimen sizes are: 10 mm × 7.5 mm × 55mm, 10 mm × 6.7 mm × 55 mm, 10 mm × 5 mm × 55 mm, 10 mm × 3.3 mm × 55 mm, 10 mm × 2.5 mm × 55 mm. Details of specimens as per ASTM A370 (Standard Test Method and Definitions for Mechanical Testing of Steel Products).
According to EN 10045-1, standard specimen sizes are 10 mm × 10 mm × 55 mm. Subsize specimens are: 10 mm × 7.5 mm × 55 mm and 10 mm × 5 mm × 55 mm.
According to ISO 148, standard specimen sizes are 10 mm × 10 mm × 55 mm. Subsize specimens are: 10 mm × 7.5 mm × 55 mm, 10 mm × 5 mm × 55 mm and 10 mm × 2.5 mm × 55mm.
